How to File a Roof Insurance Claim: A Texas Homeowner's Guide

Filing a roof insurance claim in Texas can feel intimidating the first time you do it. This guide walks through how the process generally works so you know what to expect at each step. The decisions — whether to file, what your policy covers, what gets paid — are between you and your insurance carrier. Our job as a roofing contractor is to inspect, document, and build. We are not your adjuster, and we never promise an outcome on your behalf.
Before You Call Your Carrier
Step 1: Document what you can see from the ground.
In the hours and days after a storm:
- Take photos and video of any visible damage from ground level
- Document dents on gutters, siding, windows, AC fins, and patio furniture
- Save photos with timestamps (most phones do this automatically)
- Note the date and approximate time the storm passed through
- Do not climb on your roof — wet shingles are slippery and you can cause additional damage
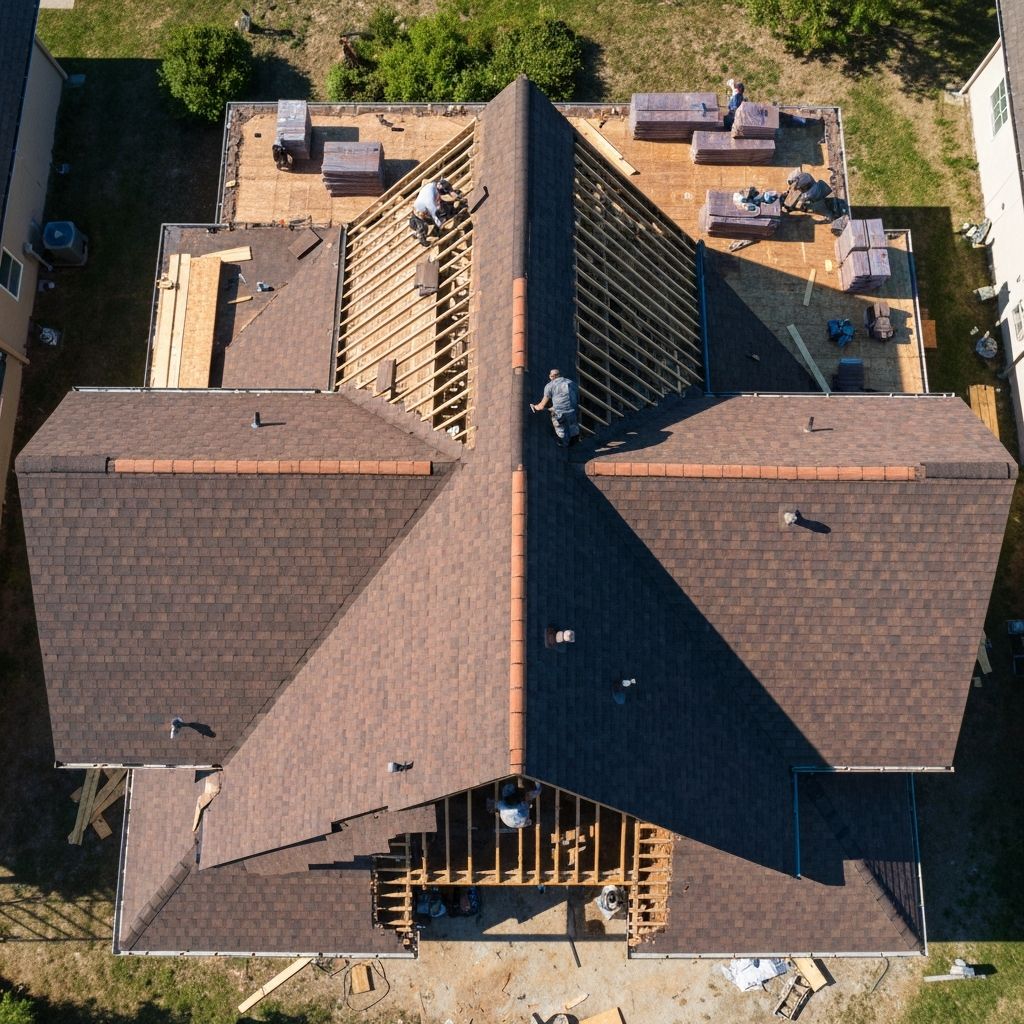
Step 2: Get a professional inspection.
Before contacting your carrier, have a licensed roofing contractor inspect the roof:
- HAAG-certified inspectors document damage the same way adjusters do
- A reputable inspection is free with no obligation
- You should receive a written report with photos and a slope-by-slope diagram
- The report belongs to you whether or not you ever hire that contractor
This order matters. A HAAG-certified inspection is information, not a commitment to file a claim. You can sit with the report for a few days and decide with your carrier whether filing makes sense. A claim filed without supporting evidence can be denied, and denied claims sometimes stay on your record.
Talking with Your Insurance Carrier
Step 3: Contact your carrier.
Once you have documentation in hand, call your carrier to discuss next steps. Every policy is different, and only your carrier can tell you whether a claim is appropriate, what your deductible is, and what their timeline looks like. When you call, your carrier will typically ask for:
- Your policy number
- The date of the storm
- A brief description of the damage you observed
- Whether you have had a professional inspection
Speak factually about what you and your inspector observed. Avoid guessing about the extent of damage or speculating about cause. If your carrier opens a claim, they will give you a claim number and the contact information for an assigned adjuster. Keep that information for your records.
The Adjuster's Inspection
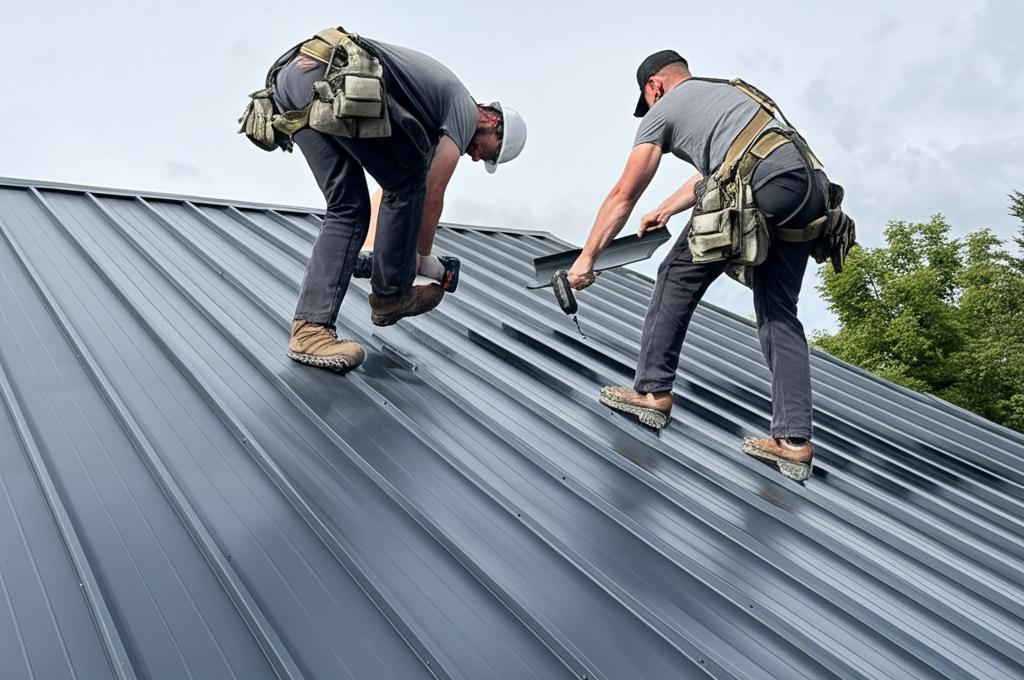
Step 4: Schedule the adjuster's visit.
If a claim is opened, your carrier will send an adjuster to inspect the damage. We recommend you arrange for your roofing contractor to be on-site as well so the adjuster sees the same areas the inspector documented. A three-way scheduling text between you, the adjuster, and your contractor usually works best. Inspections typically take 30 to 60 minutes.
Step 5: Walk the property together.
Your contractor's role at the meeting is to walk through what was found during the original inspection — not to negotiate. The adjuster works for your carrier and makes the coverage call. You are welcome to be present, ask questions about their process, take notes on what they examine, and request a copy of their inspection report.
After the Inspection
Step 6: Review the carrier's estimate.
You will typically receive a written estimate from your carrier within two to three weeks. Read it carefully:
- Does it list the damaged items your inspection identified?
- Are quantities and measurements consistent with what was documented?
- Is it a replacement-cost or actual-cash-value settlement?
- Is your deductible reflected correctly?
What your carrier covers depends on your policy and their adjustment of the loss. Your deductible is owed per Texas law, and any remaining balance per your contract with your contractor is your responsibility.
Step 7: Consider a supplemental claim if needed.
If the carrier's estimate does not appear to cover the full scope of damage your inspector documented, you can request a supplemental claim with your insurer. We can provide updated documentation to support that conversation if you ask — but the request and the conversation with your carrier are yours.
How Payment Works
Step 8: First payment.
If a claim is approved, your carrier will typically issue a first payment (the approved scope minus your deductible and any held-back depreciation). If you have a mortgage, the check is generally made out to you and your mortgage company, and your lender will have its own endorsement process. Some lenders place the funds in escrow and release them as work progresses.
Step 9: Second payment (recoverable depreciation).
With a replacement-cost policy, you may receive a second check after the work is completed and your carrier receives proof of completion. That payment is between you and your carrier.
Hive is paid by you per your contract — never by your carrier directly. We do not collect insurance funds on your behalf.
Common Mistakes to Avoid
- Filing without an inspection. Without documentation, a claim can be denied for lack of evidence.
- Waiting too long. Texas generally expects storm claims to be reported in a reasonable window after the event; the exact deadline is set by your policy and state law.
- Signing anything a door-knocker hands you. Post-storm canvassers often present "authorizations" that turn out to be assignments of benefits. Read every document carefully.
- Hiring an unlicensed contractor. In Texas, residential roofing contractors should be RCAT-registered. Unlicensed work can void warranties and create liability.
- Letting anyone offer to "waive your deductible." That is illegal in Texas, and it is a red flag the contractor is willing to cut corners elsewhere too.
Rough Timeline
- Day 1: Storm passes; document visible damage from the ground.
- Days 1–7: Schedule and complete a professional inspection.
- Days 1–14: Decide with your carrier whether to file a claim.
- Days 7–21: Adjuster's inspection takes place.
- Days 21–42: Carrier sends its estimate.
- Days 30–60: Any supplemental requests are processed between you and your carrier.
- Days 60–90: Roof replacement scheduled and completed.
How Hive Fits Into the Process
Our HAAG-certified inspectors document damage to the standard adjusters look for, and we hand you the report so you can have an informed conversation with your carrier. We are happy to attend the adjuster's on-site walk to point out what we found. The claim is between you and your insurer — what your policy covers, what gets paid, and what you choose to do next are your decisions to make.
About Hive Team
Hive Team is a roofing expert at Hive Roofing and Solar with over 15 years of experience in the industry. He specializes in residential roofing and is passionate about helping homeowners protect their investments.
Need a Roof Inspection?
Our experts can assess your roof's condition and provide honest recommendations.
Get Free Estimate